Making lotion at home is a rewarding way to create a moisturizer tailored exactly to your skin’s needs and your preferred ingredients. This article walks you through a simple DIY recipe that combines oils, water, and an emulsifier to create a stable, creamy lotion, plus tips for customizing and storing it safely.
Key Takeaways
- Lotion is an emulsion; an emulsifier like Polawax or BTMS-50 is essential for stability.
- Always use a broad-spectrum preservative in any water-containing lotion to prevent microbial growth.
- Sanitize all equipment with hot, soapy water and isopropyl alcohol before starting.
- Use a digital scale for precise measurements, especially for emulsifier and preservative.
- Properly preserved homemade lotion lasts 3-6 months when stored in airtight containers.
Why This Homemade Lotion Recipe Works
Lotion is an emulsion, a stable blend of oil and water that wouldn’t stay mixed on its own. This recipe works because it combines a measured oil phase with a water phase using an emulsifier like Polawax or BTMS-50, which binds them together into a smooth, creamy texture. A broad-spectrum preservative keeps the water-based lotion safe from bacteria and mold, extending its shelf life to 3-6 months. The process lets you choose your own carrier oils and butters, so the final product is tailored to your skin’s needs.
Ingredients and Tools You’ll Need
Here is what you need to gather before starting.
Ingredients:
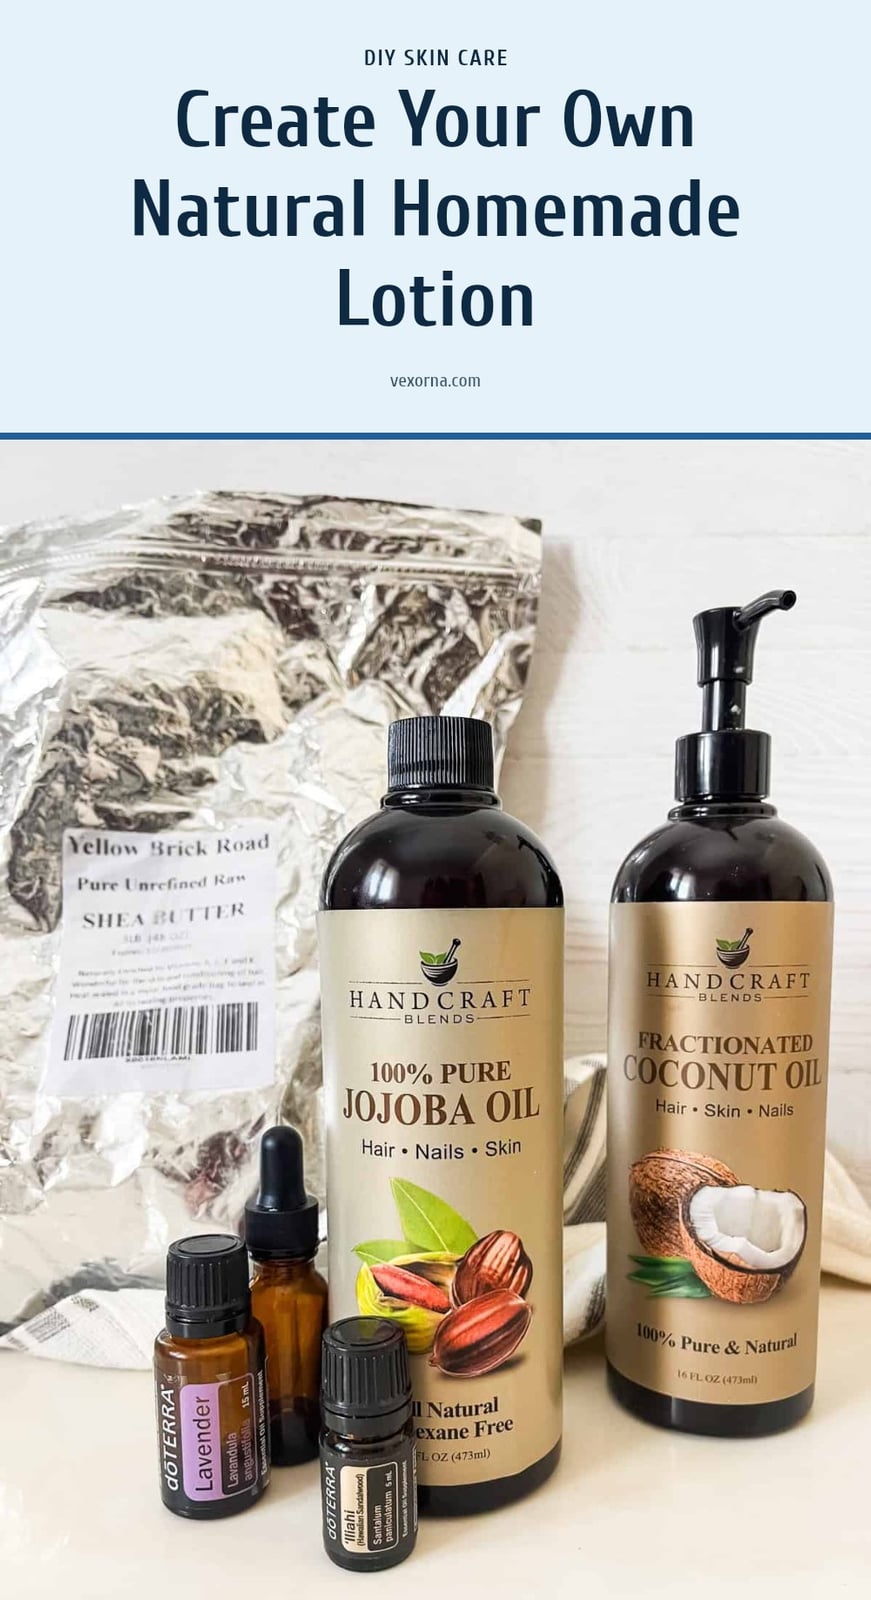
- Carrier oil: 20-30% of total weight. Sweet almond, jojoba, or grapeseed oil for deep moisturization.
- Butter: 5-10% of total weight. Shea butter adds richness and skin-conditioning properties.
- Emulsifying wax: 4-6% of total weight. Polawax or BTMS-50 binds oil and water together.
- Distilled water: 60-70% of total weight. Forms the water phase and prevents contaminants from tap water.
- Broad-spectrum preservative: Follow the manufacturer’s percentage. Non-negotiable for safety.
Tools:
- Digital scale: Ensures precise measurements for a stable emulsion.
- Immersion blender: Key for thorough mixing and emulsification.
- Heat-resistant containers: Two for heating oil and water phases separately.
- Thermometer: To monitor temperatures during heating and cooling.
- Clean, airtight containers: For storing the finished lotion.
Step-by-Step: Crafting Your Lotion
- Sanitize all equipment: Wash everything with hot, soapy water, then wipe with isopropyl alcohol. Treat your workspace like a mini-lab to prevent contamination.
- Measure and combine oil phase ingredients: Weigh your carrier oil, shea butter, and emulsifying wax into one heat-resistant container.
- Measure and combine water phase ingredients: Weigh distilled water into a separate heat-resistant container.
- Heat both phases: Place both containers in a water bath or microwave in short bursts until both reach 160-170°F (70-77°C). Similar temperatures help them combine smoothly.
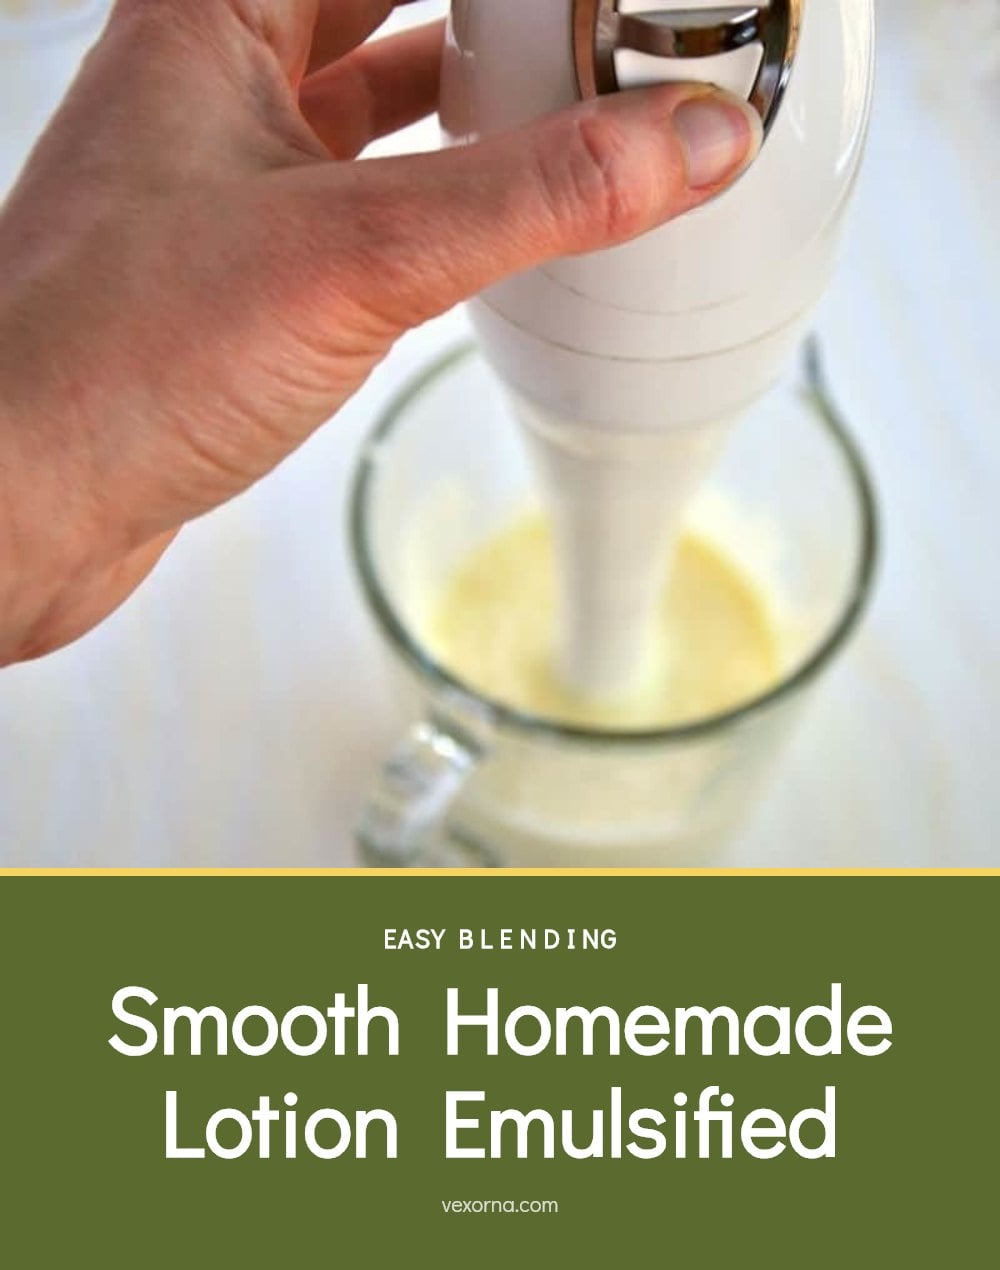
- Combine slowly while blending: Pour the water phase into the oil phase in a thin, steady stream while running the immersion blender continuously. Keep blending for 2-3 minutes until a thick, uniform emulsion forms.
- Cool the lotion: Let the emulsion sit until it drops below 120°F (49°C). Do not rush this step.
- Add heat-sensitive ingredients: Stir in the broad-spectrum preservative, then any optional essential oils or vitamins. Mix well.
- Transfer to containers: Pour or spoon the lotion into clean, airtight containers. Let it cool completely before sealing the lids.
If you learn better by watching, this 14-minute video from WholeElise shows every step. The how-to part starts at 2:43.
Top Tips for Perfect Homemade Lotion
These pointers will help you avoid common pitfalls and get consistent results.
- Precision is key: Always use a digital scale for accurate measurements, especially for emulsifier and preservative. Guessing leads to separation or spoilage.
- Sanitation first: Treat your workspace and tools like a mini-lab. Cleanliness prevents microbial growth that can ruin your batch.
- Temperature matters: Heating both phases to similar temperatures helps them combine smoothly and reduces the risk of separation later.
- Blend, blend, blend: Continuous and thorough mixing during the emulsification process is essential for a stable, smooth lotion. Stop too soon and you risk graininess.
- Cool down: Wait for your lotion to cool completely before adding delicate ingredients like essential oils or vitamins to preserve their efficacy.
Customizing Your Lotion: Variations to Try
Customizing Your Lotion: Variations to Try
Once you master the base recipe, you can tailor your lotion to your skin’s needs. Swap sweet almond oil for argan, rosehip, or grapeseed oil to target specific concerns like dryness or uneven tone. Replace shea butter with cocoa butter for a firmer texture or mango butter for a lighter feel.
For fragrance, add 5-10 drops of essential oils like lavender or frankincense, but only after the lotion has cooled below 120°F (49°C) so the scent lasts. Boost benefits with vitamin E oil (it protects the oils, not the water), glycerin for extra moisture, or panthenol for soothing. Mix in these additives after cooling to preserve their potency.
Storing Your Homemade Lotion Safely
Storing Your Homemade Lotion Safely
Transfer your lotion to clean, airtight containers immediately. Dark glass or opaque plastic bottles protect light-sensitive ingredients like essential oils. Keep the lotion in a cool, dry spot away from sunlight and heat.
With proper preservation, homemade lotion lasts 3-6 months. Always check for spoilage before each use: look for separation, discoloration, or an off smell. If you notice any of these, discard the lotion right away.
Frequently Asked Questions
Why do I need a preservative in homemade lotion?
Any lotion that contains water is a breeding ground for bacteria, mold, and yeast. A broad-spectrum preservative stops these microbes from growing, protecting your lotion from spoilage and your skin from potential infections. Never skip it.
Can I use tap water for my DIY lotion?
No, tap water can contain minerals, chlorine, and other impurities that can destabilize your lotion or introduce contaminants. Stick with distilled water to keep your lotion safe and stable.
How long does homemade lotion last?
With proper preservation and storage in a clean, airtight container, homemade lotion typically lasts 3-6 months. If you notice separation, discoloration, or an unusual odor, discard it immediately.
What if my lotion separates after cooling?
Separation usually means the emulsion wasn’t stable. This can happen if you didn’t heat both phases to the same temperature, didn’t mix thoroughly, or used the wrong ratio of emulsifier. Unfortunately, you cannot fix a separated lotion; start a new batch and double-check your measurements and process.
Can I customize the scent of my homemade lotion?
Yes, you can add essential oils or fragrance oils to your lotion for a custom scent. Add them only after the lotion has cooled below 120°F (49°C) to prevent the heat from degrading their aroma and effectiveness.
Final Thoughts
For your first batch, stick with the base recipe using sweet almond oil and shea butter to get a feel for the process. Expect the lotion to thicken as it cools over several hours, and remember that homemade lotion typically lasts 3-6 months with proper preservation. Once you’ve mastered the basics, feel free to experiment with different oils and scents to make it your own.
This article is for informational purposes only and does not constitute medical or professional skincare advice. Always perform a patch test before using any new product on your skin, and consult a dermatologist if you have a persistent skin condition or experience irritation.